
Installation Guide · 2026
How to Apply Tile Adhesive Correctly: Step-by-Step Guide for Perfect Results (2026)
Proper tile adhesive application is the foundation of a lasting installation. Poor application leads to loose tiles, cracking grout lines, and costly repairs. This guide covers professional techniques used by contractors across India to ensure your tile and stone installations last decades.
Critical Step
Pre-Application Preparation
Surface Assessment
- Check substrate (concrete, existing tiles, gypsum board, marble) — each requires different adhesive types
- Surface must be clean, dry, and free of dust, oil, or loose material
- Use wire brushes or grinding to remove old adhesive, paint, or contaminants
Surface Conditioning
- Concrete: Seal porous surfaces with a primer to prevent water absorption
- Existing tiles: Rough the surface with sandpaper (80–120 grit) for mechanical grip
- Gypsum/drywall: Use fiber-reinforced tape and joint compound patches; allow to cure fully
- Moisture level: Substrate should be 5–8% moisture content (use a moisture meter on concrete)
Leveling
- Check for uneven surfaces using a 2-meter straight edge
- Fill depressions with self-leveling compound or tile adhesive base layer
- Slopes should not exceed 5mm over a 1-meter span
Selection
Choosing the Right Adhesive Type
Substrate/Tile Type
Small ceramic tiles (up to 30×30cm) on concrete
Recommended Adhesive Type
Type C1 (Standard)
Why
Standard strength sufficient
Substrate/Tile Type
Large vitrified/porcelain tiles (40×60cm+)
Recommended Adhesive Type
Type C2 (High-flex)
Why
Prevents tile movement and cracking
Substrate/Tile Type
Natural stone (marble, granite, slate)
Recommended Adhesive Type
Type S1 (Low-slip epoxy-based)
Why
Prevents stone slippage during setting
Substrate/Tile Type
Bathrooms/wet areas
Recommended Adhesive Type
Type C2 + epoxy or waterproof adhesive
Why
High water resistance
Substrate/Tile Type
Swimming pools/exterior
Recommended Adhesive Type
Type C2S1 (Low-slip, waterproof)
Why
Extreme moisture resistance
Process
Step-by-Step Application Process
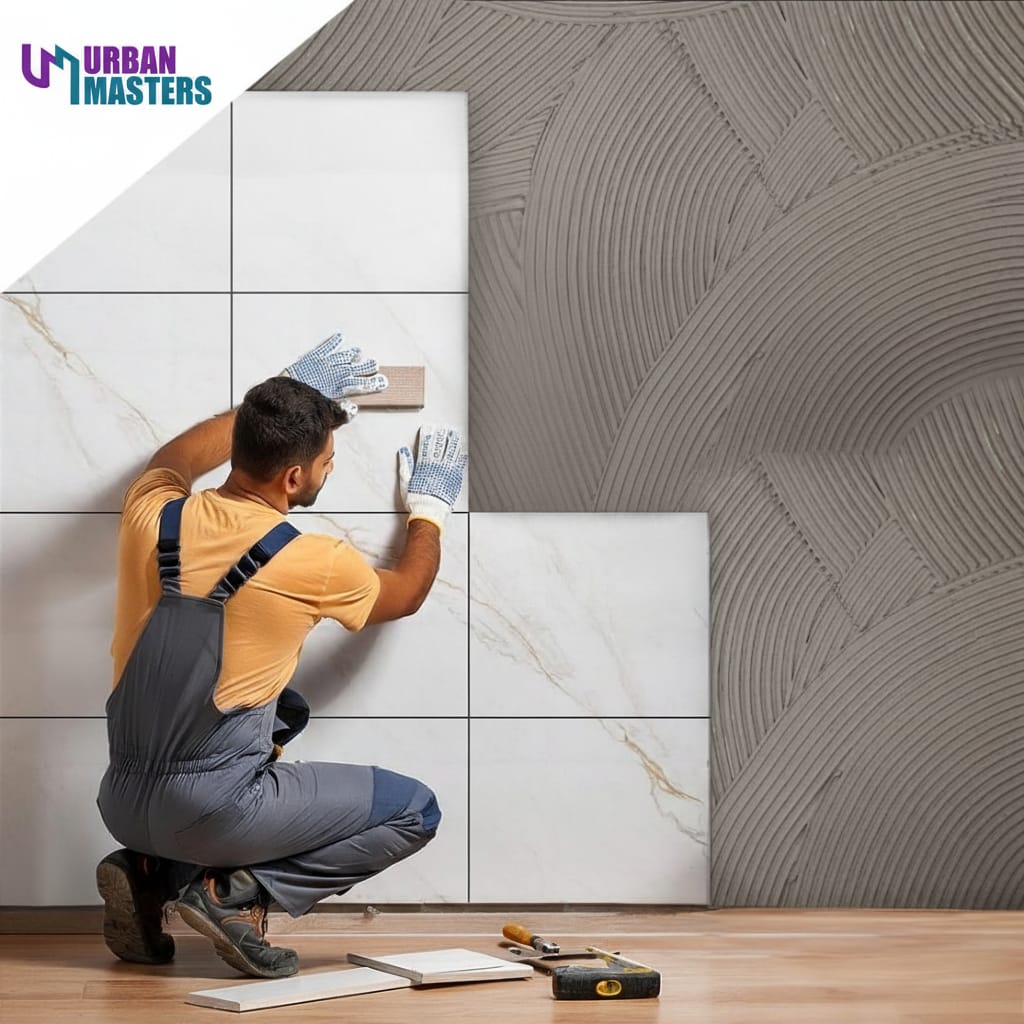
Step 1: Prepare the Adhesive
- Mix powder adhesive with water in a 3:1 ratio (check product specs)
- Use a drill with a paddle mixer at low speed (never electric whisk — causes air bubbles)
- Let mixture rest for 10 minutes, then remix briefly (slaking process)
- Consistency should resemble peanut butter — thick enough to hold ridges, not runny
- Pro tip: Only mix what you can use in 1–2 hours; adhesive sets and becomes unusable
Step 2: Trowel Sizing & Technique
- Use a notched trowel (never a flat trowel alone):
- 6–8mm notch for tiles up to 30×30cm
- 10–12mm notch for tiles 30–60cm
- 12–15mm notch for large format tiles 60cm+
- Hold trowel at a 45-degree angle to create uniform ridges
- Apply adhesive in sections (1–1.5 square meters at a time) so it doesn't dry
Step 3: Apply Adhesive to Substrate
- Spread adhesive on substrate first (wall or floor) using straight strokes
- Ensure full coverage with no voids or thin spots
- Create uniform ridges across the entire section
- Double-butter method (optional but recommended for natural stone):
- Apply adhesive to substrate + apply a thin layer to the back of each tile
- Increases coverage to ~95%, reduces hollow spots
Step 4: Place Tiles
- Press tile firmly onto adhesive with a slight twisting/rotating motion (10–15 seconds per tile)
- Push down evenly across the entire tile surface — don't just press corners
- Use tile spacers to maintain consistent grout lines (typically 3–5mm for floor, 2–3mm for walls)
- Check level and alignment with a spirit level every 3–4 tiles
- Do NOT slide tiles horizontally — this breaks the adhesive ridges
Step 5: Joint Management
- Wipe excess adhesive from grout lines before it hardens (within 15–20 minutes)
- Use a damp sponge and clean water — do not use excessive water (weakens bond)
- Allow adhesive to cure before grouting (typically 24–48 hours depending on humidity)
Timing
Curing & Setting Time
Factor
Light foot traffic
Details
24 hours minimum
Factor
Full cure/grouting
Details
48 hours (standard); up to 72 hours in humid/cool conditions
Factor
Water exposure
Details
7 days before exposing to moisture (bathrooms, pools)
Factor
Temperature impact
Details
Below 10°C slows curing; above 30°C accelerates it
Factor
Humidity
Details
High humidity (>85%) extends curing time
Avoid These
Common Mistakes to Avoid
Mistake
Using too thin adhesive layer
Impact
Hollow spaces → tile cracking under load
Solution
Use proper notch trowel size
Mistake
Applying adhesive to both surfaces incorrectly
Impact
Voids in bond → loose tiles
Solution
Use double-butter method for large tiles
Mistake
Walking on tiles before curing
Impact
Bond fails prematurely
Solution
Keep traffic off for 48 hours minimum
Mistake
Using expired or incorrectly mixed adhesive
Impact
Weak bond strength
Solution
Mix fresh batches, follow water ratios exactly
Mistake
Grouting too early
Impact
Adhesive squeezes up, grout weakens
Solution
Wait full 48 hours before grouting
Mistake
Not cleaning excess adhesive promptly
Impact
Adhesive hardens in grout lines
Solution
Wipe within 15–20 minutes
India-Specific
Climate Considerations for India
Monsoon/High Humidity
Use low-slump, fast-setting adhesives; increase curing time by 12–24 hours
Extreme Heat (>40°C)
Keep substrate damp; work in early morning/late evening; use adhesive with extended pot life
Coastal Areas (Salinity)
Choose epoxy or marine-grade adhesives to resist salt corrosion
Cold Weather (<10°C)
Heat substrate slightly; reduce water content in mix; allow extended curing time
Need Expert Guidance?
Different projects demand different techniques.
Whether you're installing ceramic tiles in a residential bathroom or large-format porcelain slabs on a commercial floor, the right adhesive and application method make all the difference.
Urban Grip's adhesive range (Type C1, C2, and specialist epoxy formulations) is engineered for Indian climate conditions and substrate variations. Our team can help you select the exact adhesive type and application approach for your project.
Get Expert Tile Adhesive Advice from Urban Masters